You've finally got your hands on that pretty octagonal moka pot. But the moment you sit down to brew your first cup, your head fills with question marks. How fine should I grind, which beans should I use, do I need to press it down, how far up should the water go, when do I turn off the heat… These are the exact spots where every beginner hesitates. This article works through those moments of panic, one question at a time. If you'd like to brush up on the device's origins and the basics from scratch, feel free to start with The Moka Pot: Know It Right, Brew It Right first.
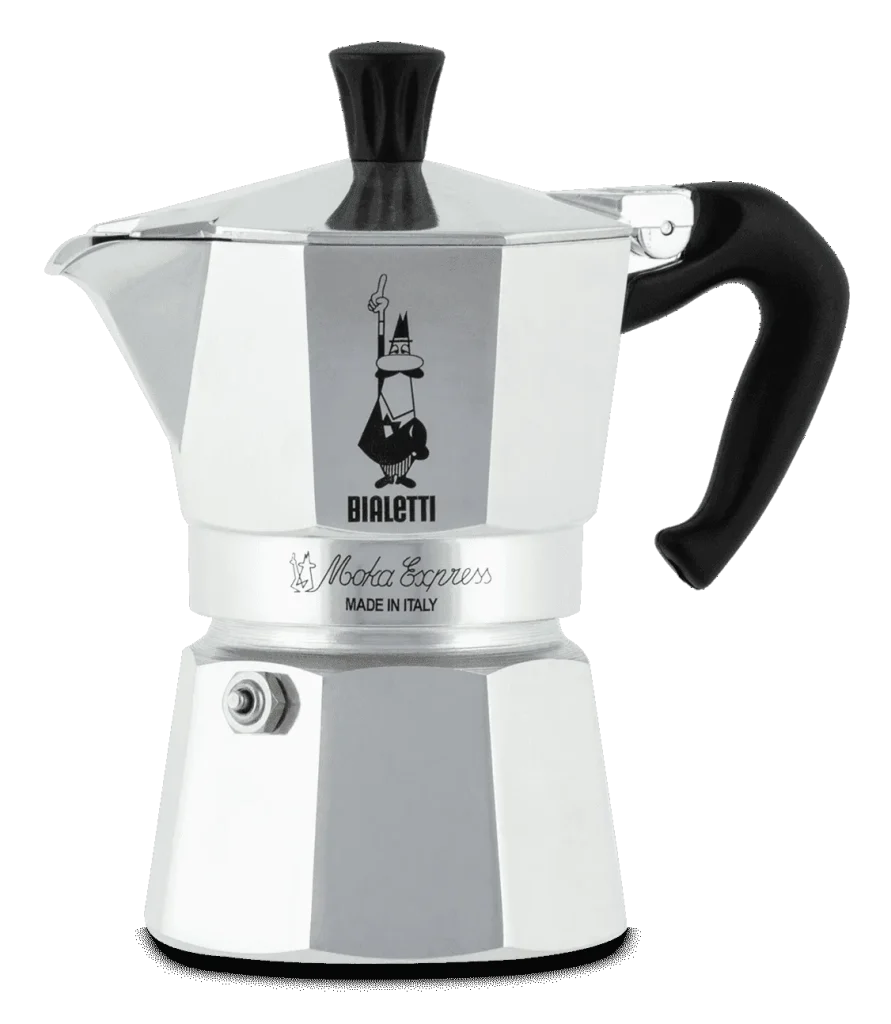
First, the structure of the moka pot
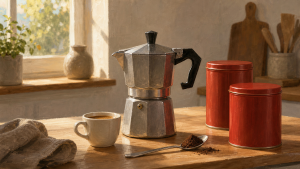
To understand the answers, you only need to know three parts: the boiler at the bottom (water), the basket in the middle (the funnel for the grounds), and the upper chamber on top (where the brewed coffee collects). When the water in the boiler comes to a boil, steam pressure builds, and that pressure pushes the water up through the grounds in the basket, drawing the coffee out to the top. Compared with the 9 bar of an espresso machine, this is a very low pressure — around 1–1.5 bar.
Q1How fine should I grind the coffee?
The mistake beginners make most often is grinding too fine. If you grind it nearly to a powder like espresso, the weak 1.5 bar pressure can't push through the densely packed bed of grounds, so extraction either stalls or over-extracts, turning bitter and astringent. Grind it too coarse like drip, on the other hand, and the water drains through too fast, leaving it watery.


Q2Which beans are good?
The moka pot is a device that brews strong and heavy, so a roast that can stand up to that intensity suits it well. Light roasts tend to come out sour, and overly dark roasts lean toward a burnt taste, so somewhere in between is the comfortable zone. As for origins, rather than the light and bright high-altitude African coffees, Brazil, Colombia, and Indonesia profiles — with their heavy chocolate and nutty tones — fail the least for beginners.

Q3Do I need to pack the grounds down firmly?
Tamping is something you do on an espresso machine, which pushes hard at 9 bar. If you push the moka pot's 1.5 bar against a firmly tamped bed of grounds, the resistance becomes too great, and extraction either stops or over-extracts into bitterness. Fill the basket to the brim, level the surface flat with a finger or tool, and tap it lightly to let it settle — that's all you need.
Q4How much water do I add?
Look inside the boiler and you'll see a small metal protrusion — the safety valve. Fill the water to the line that doesn't cover this valve, that is, just below it. The valve is an over-pressure safety device, so it must not be submerged. Too little water and the steam pressure is insufficient, the pot overheats, and you get a burnt taste; too much and you block the valve, which is dangerous.

"Can't I just fill a big 6-cup pot halfway?"
When you're drinking alone, you're tempted to fill a large pot only halfway. The short answer: it doesn't really work. Because the moka pot is a fixed-dose device, putting in only half the water or coffee breaks the pressure equation it was designed around. Too little water and the steam pressure rises too fast and too hot, scorching the grounds; too little in the basket and the water just passes through, giving you weak, watery coffee. A properly filled 3-cup beats a half-filled 6-cup every single time.
| Size | Boiler water (approx.) | Coffee (approx.) | Result / who it's for |
|---|---|---|---|
| 1 cup | ~60 ml | about 7 g | One strong shot · solo black / travel |
| 3 cup | ~130 ml | 14–18 g | One mug / two shots · solo daily |
| 6 cup | ~270 ml | 20–30 g | Two mugs' worth · for two, or with milk added |
| 9 cup | ~420 ml | 30 g+ | Four shots or more · entertaining guests |
※ A moka pot "cup" isn't a Korean-style mug but an Italian espresso cup (about 60 ml). "6 cups" means six espresso shots' worth, not six mugs. Sizes are approximate, based on the Bialetti Moka Express, and vary slightly by brand and basket.
Q5What temperature should the starting water be?
If you heat from cold water, the grounds in the basket "cook" for too long while the boiler metal heats up, giving a metallic, bitter taste. Pour in pre-boiled water and the time on the heat shortens, so extraction begins before the grounds cook. That's why many guides recommend boiling water in a kettle first and pouring it into the boiler.
Q6How high should the heat be?
Another common beginner mistake is cranking up the heat to brew faster. Heat too rapidly and the water surges and spatters violently, scorching the grounds into bitterness. Keep it between low and medium, and on a gas burner, make sure the flame doesn't reach beyond the bottom of the pot. If the gas flame is too strong, the pot's handle can get scorched or even melt.

Q7When do I turn off the heat? Especially with a big 6-cup pot?
The key is that you judge by "sound and color," not the "clock." At first, dark brown coffee rises in a thin stream, and as the boiler water nearly runs out, steam mixes in, the stream lightens, and a gurgling, hissing sound starts. This sound (the so-called strombolian phase) is the signal that over-extraction is beginning. That's when you turn off the heat.
Step-by-step timetable (low to medium heat, 3-cup basis)
The signals are the same regardless of size. It's just that the larger the pot, the longer it takes to reach those signals. Here's what happens at each point and what to do:
| Time | What's happening | What to do |
|---|---|---|
| 0:00 | Heat on | Start heating on low to medium |
| about 3:30 | First coffee starts rising into the top | Just watch and wait |
| about 4:00 | The stream flows steadily | Lower the heat one step to low |
| about 5:00 ★ | The stream lightens and "gurgle/hiss" | Turn off the heat → cool the base in cold water |
※ Approximate values on low to medium heat with a 3-cup. Larger pots like a 6-cup get the same signals about 1–2 minutes later — it's not "leave it longer," just the same signals arriving a little later. Since it varies with burner strength and water temperature, treat the times as a reference and ultimately judge by ear and eye, which is the accurate way.
Q8Is it dangerous to open the lid while brewing?
The moka pot operates at a low pressure of 1–1.5 bar. It's an entirely different dimension from an espresso machine or a pressure cooker that runs at 9 bar, so opening the lid won't cause an explosion or a pressure blowout. On the contrary, keeping the lid open lets you watch the color and speed of the rising coffee with your own eyes, so you won't miss the moment to cut the heat.
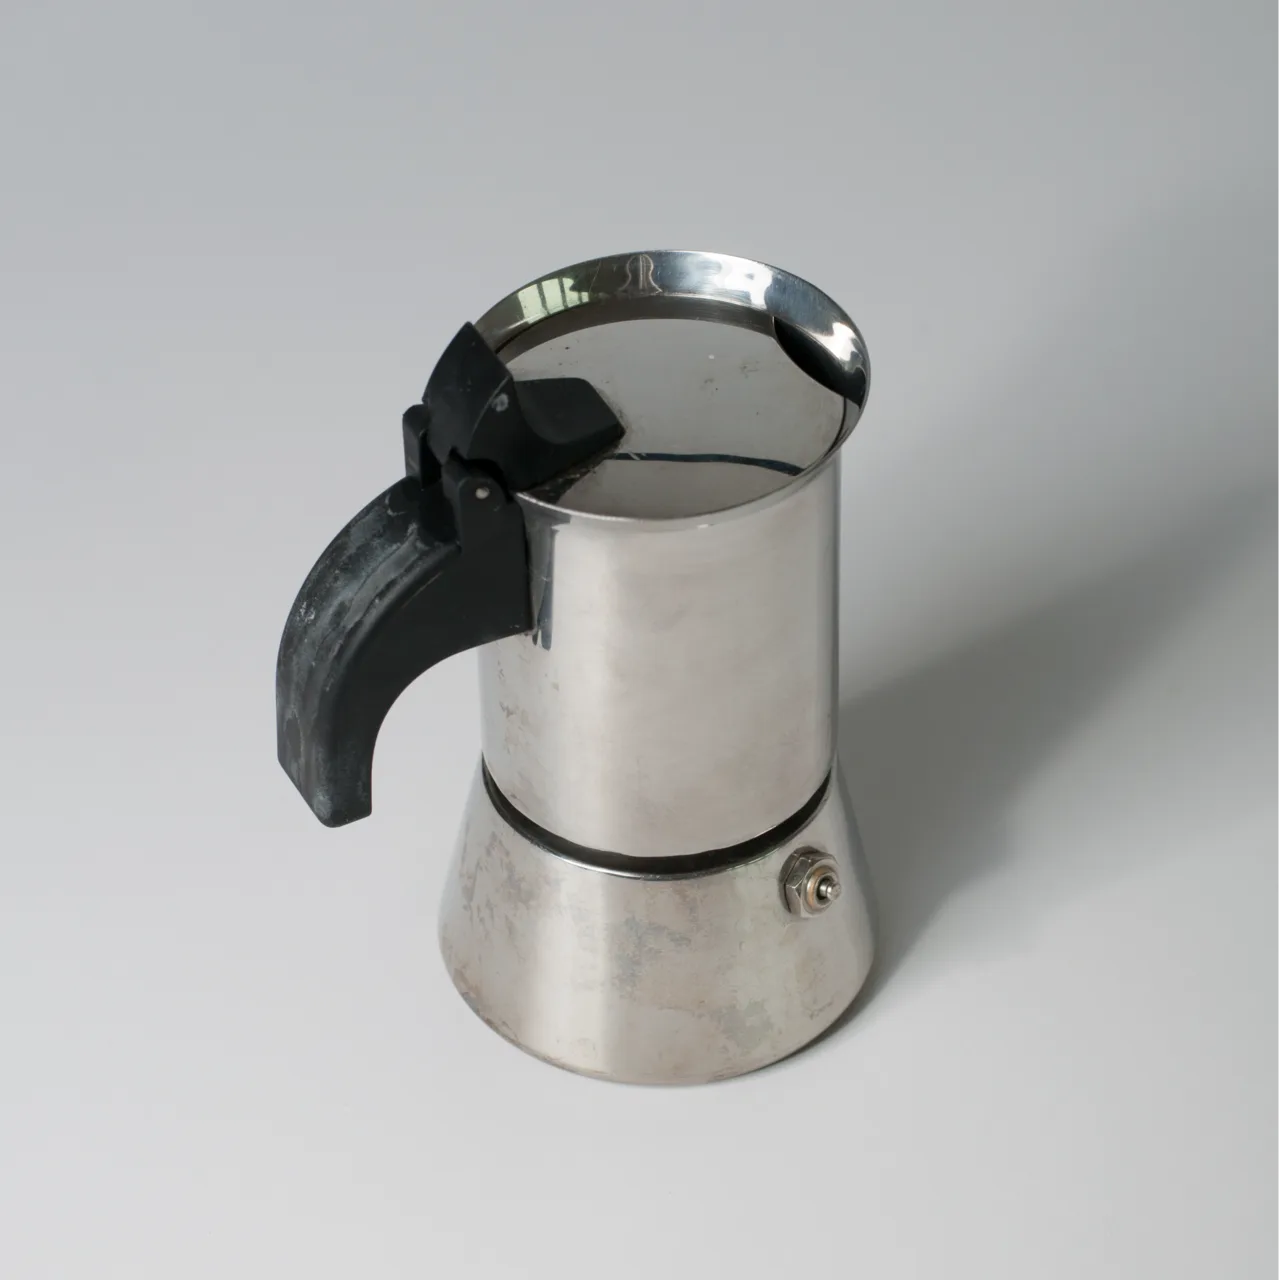
Q9Aluminum? Stainless steel? Which should I buy?
The original and most common body of the moka pot is aluminum. It's light, heats up fast, and is cheap. The catch is that aluminum isn't magnetic, so it won't work if you simply set it on an induction (IH) burner. And since it's a device that meets acidic coffee, it's better to rinse it with water alone and season it over time rather than scrubbing it hard with detergent.

Stainless steel costs more and heats up more slowly, but it's sturdy, easy to clean, and less of a worry for metallic taste. Above all, it goes straight onto induction. If your burner is induction, your options effectively narrow to stainless steel. The flavor difference isn't large, but many say aluminum gives a slightly rougher, more classic impression and stainless a slightly cleaner one.
Q10How do I clean it? Can I use detergent?
An aluminum moka pot builds up a faint coffee film on the inside the more you use it, and this is a kind of "seasoning" that stabilizes the flavor. So traditionally, the recommended way is to rinse with warm water without detergent and wipe gently. Strong detergent or a dishwasher can strip away this film and roughen the surface. Stainless steel, on the other hand, is relatively forgiving of detergent and the dishwasher.

One-page summary — your first moka pot checklist
- Grind — Finer than drip, coarser than espresso (medium-fine). No grinding too fine.
- Beans — Medium to dark roast, heavier origins. Grind right before brewing.
- Tamping — Don't press. Just fill it full and level it flat.
- Water — Up to just below the safety valve. Don't fill a big pot only halfway.
- Water temperature — Starting with boiled water (preheating) keeps it clean. The boiler is hot, so use a glove.
- Heat — Low to medium. No high heat from the start.
- Timing to turn off — When the stream lightens and you hear the "gurgle," turn it off (a 6-cup just gets there a little later).
- After turning off — Cool the base in cold water to stop over-extraction.
- Lid — Safe to watch with it open. Just don't put your face right above it.
- Material — Stainless for induction; otherwise aluminum is fine too.
- Cleaning — Rinse aluminum with water only, take it apart, and dry it completely.

The moka pot isn't a tool for freely tweaking variables — it's a device that tastes best when you precisely keep to its fixed dose. Brew once following the checklist above, and from there adjust the grind and heat just one at a time to find your own perfect cup.
- The Moka Pot: Know It Right, Brew It Right — From Origins to Beans and Grind
- The Moka Pot: Why You End Up Buying Several Models — The "Cup" Trap
- How to Choose a Bialetti Moka Pot's Capacity · Stainless vs. Aluminum
- Which Beans Pair Well with a Moka Pot?
- The Moka Pot Flame: When Is the Right Time to Turn It Off? — Reactions from Italy
- Exploring the Bialetti Brand — The Legend a Little Moka Pot Built
- Italian Coffee Culture and History
댓글 0
첫 댓글을 남겨보세요.