If an espresso machine feels like too much, capsule coffee leaves something to be desired, and you don't want to go back to instant mix, then hand drip is the most realistic place to start. As many tools as it may seem to involve, the core is simple: grind fresh beans evenly, and try pouring water slowly. Once you've got those two down, even at home you can get a pretty enjoyable cup.
The trouble starts the moment you begin searching. Look at grinders alone and the price ranges spread wide apart, and drippers come in too many shapes and materials. So this article focuses not on "buying everything from the start" but on "buying in the order that most affects flavor." We'll separate where to spend money first from where you can upgrade slowly.
Where to spend your money first
The mistake beginners make most often is picking a pretty dripper first. Of course, the dripper changes the flavor too, but with the same beans and the same recipe, the thing that makes the biggest difference is usually the grind. If the beans are ground unevenly, extraction wobbles no matter which dripper you use.
Priorities. Fresh beans → grinder → scale → dripper and kettle → server. You can start a dripper for around 10,000 won, but if the grind and the measurement wobble, it's hard to repeat a flavor.
Prices shift often depending on the seller, exchange rates, and sales. Treat the figures below as rough domestic online retail ranges meant to give you a sense of things when choosing equipment, and before you actually buy, it's better to recheck the current price and whether the item is officially imported or parallel-imported.
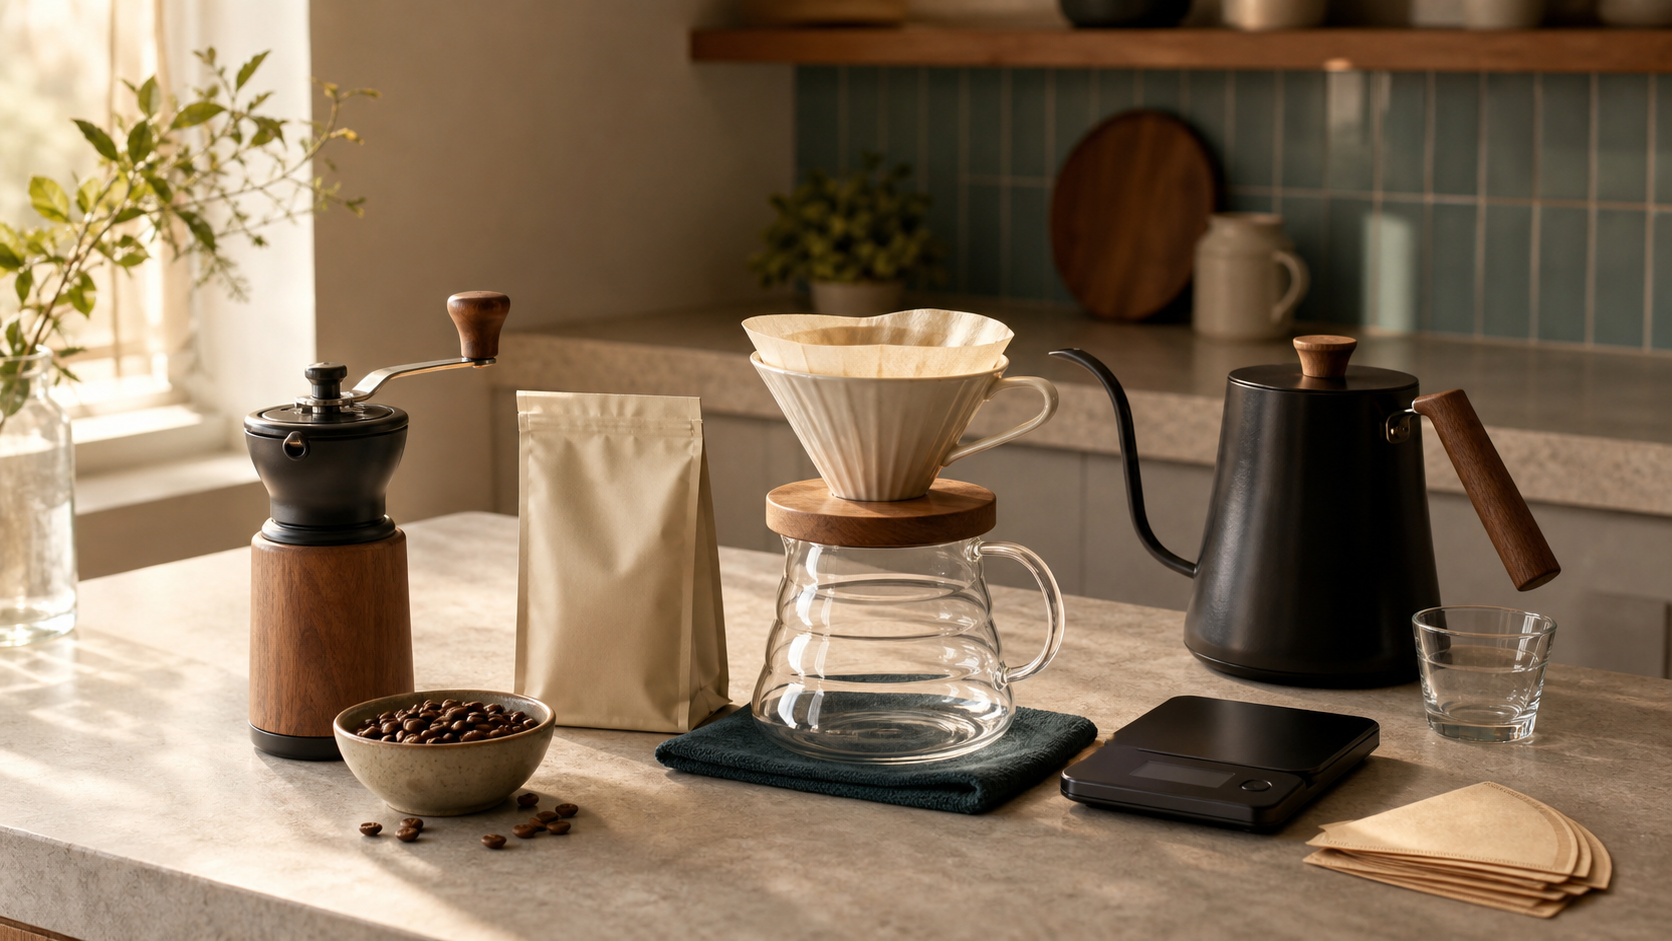
The first 5 tools to own
① Grinder — the equipment to mind first
An electric one is certainly convenient, but on a low budget, choosing a manual hand mill for the same money is often more advantageous in terms of grind quality. Grinding a serving or two by hand doesn't take long, and the very process of the bean aroma rising can itself become one of the joys of hand drip.
Timemore C3 / C3S
This is a choice frequently recommended among entry hand mills. The C3S features a metal body and an S2C-series burr, and at around 25 g it's a capacity good for grinding one or two cups. If you want a first one you can use for a long time, it's good to look at this class first.
Kingrinder K6 · 1Zpresso Q series
If you plan to drink light-roast specialty beans often, the clarity in the cup and the convenience of grind adjustment improve from this price range. That said, it's not a step you absolutely need from your very first entry. If your budget is tight, starting at the C3 class and changing beans more often may give you a bigger felt difference.
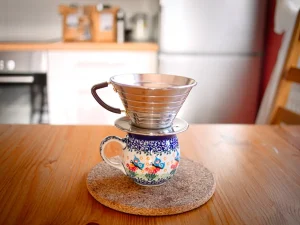
② Dripper — start with the easy-to-learn V60
There are many kinds of drippers, but for a first one the Hario V60 plastic 02 is easy to learn. There are lots of recipes and tutorials, filters are easy to find, and being plastic it's light and less prone to breaking. HARIO's 02 size is usually a size suited to a range of 1–4 cups, so it's fine whether you drink alone or share with another person.
Hario V60 plastic 02
The ceramic and glass versions are pretty too, but for beginners plastic is the convenient choice. There's little preheating burden and it's easy to care for. If you want a rounder, more stable flavor, the Kalita Wave 155 is a good alternative as well.
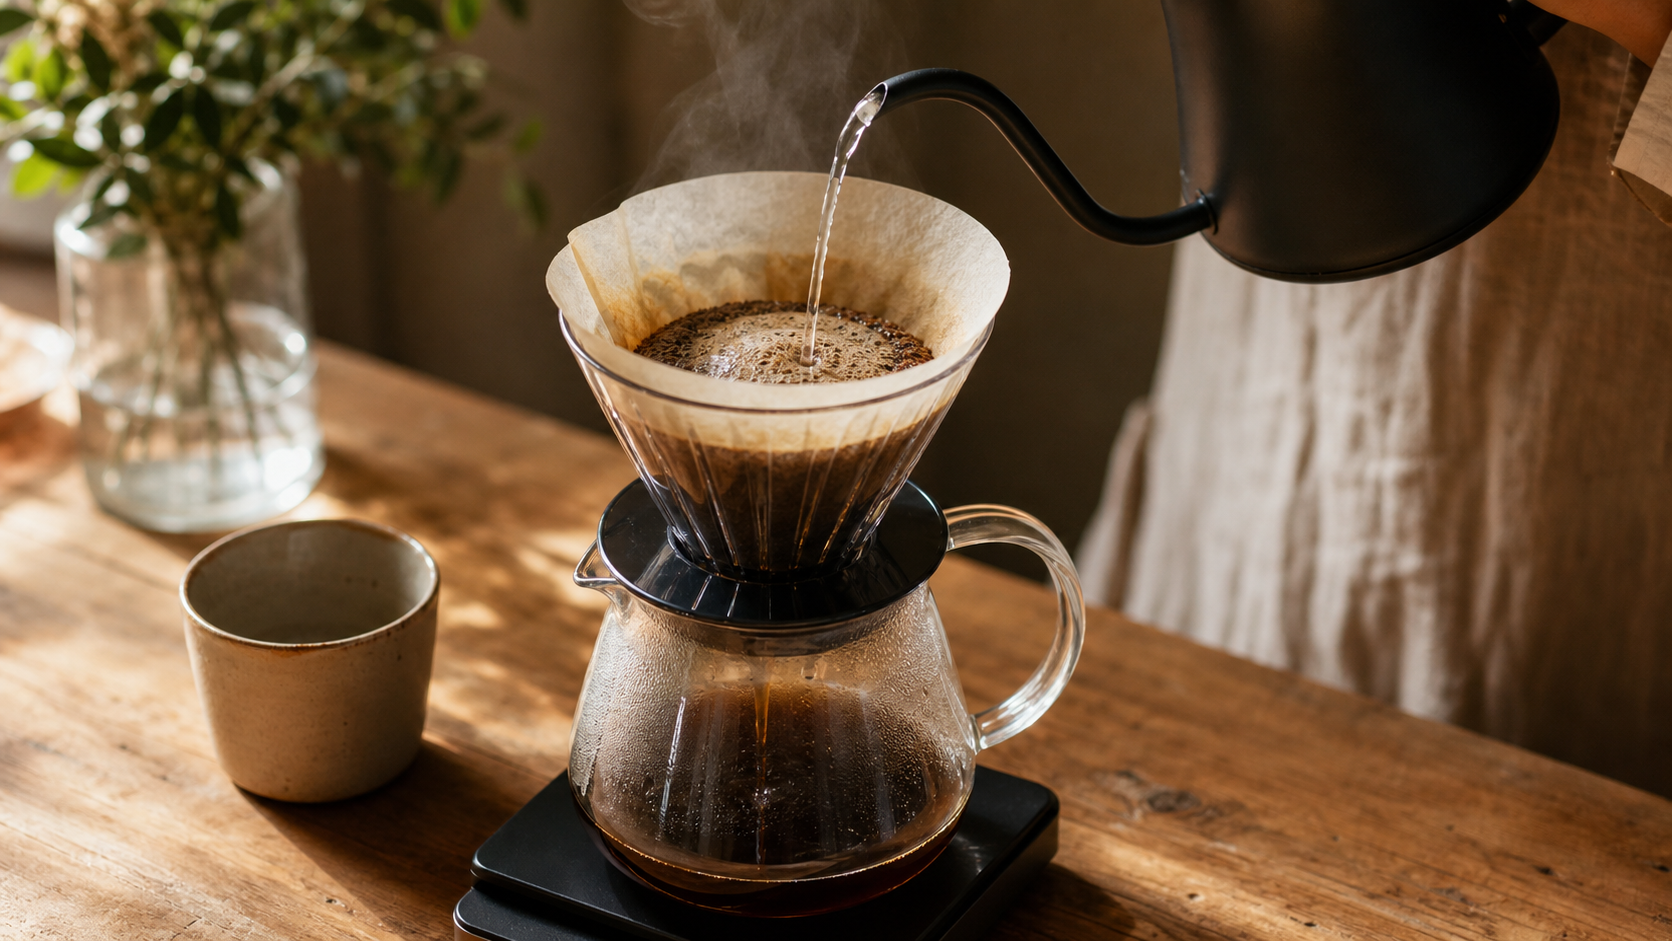
③ Drip kettle — keep the water stream thin and steady
There's nothing you can't brew with an ordinary kettle. It's just that when the water stream is thick and breaks up, the bed of grounds easily gets disturbed and the flavor turns uneven. A gooseneck kettle makes it easy to control the amount and speed of the water, which is a pretty big help to beginners.
Hario Buono or a low-cost gooseneck kettle
The Hario Buono has long been known for its thin spout and stainless body. To save on budget, starting with a gooseneck kettle in the 20,000-won range is plenty. A temperature-controlled electric kettle is convenient but the price goes up, so it's not too late to upgrade after you've gotten into brewing every day.
④ Scale — 0.1 g increments and a timer
To repeat a flavor, a scale matters more than you'd think. If you record it in numbers like "beans 15 g, water 250 g," you can recreate the taste of a day it came out well. Eyeballing it tends to vary every time.
A coffee scale with 0.1 g and a built-in timer
Look at the specs before the brand. 0.1 g measurement, a built-in timer, and a size with room to spare even with a cup and server on it are enough. Something like the Timemore Black Mirror is clean, but for an entry you can start with a low-cost model too.
⑤ Server + paper filters — the finishing touches for convenience
A server is the glass carafe that catches the brewed coffee. If you drink just one cup, you can set the dripper straight on top of your cup. If you brew two or more cups, or want to stir the extract once for an even drink, a server is convenient. For paper filters, just choose ones that match your dripper's shape and size.
Recommended combos by budget
Rather than assembling a perfect set from the start, it's better to choose based on how often you'll actually brew right now. "Only occasionally on weekends" and "a cup every morning" call for different equipment.
- V60 plastic dripper + paper filters
- A 0.1 g scale in the 10,000-won range
- An ordinary kettle you already have at home
- Have the beans ground "for drip" at the shop
This combo is the cheapest, but pre-ground beans lose their aroma fast. If you can, buy only a small amount — as much as you'll drink within one or two weeks.
- A Timemore C3 / C3S-class hand mill
- V60 plastic 02 + paper filters
- A low-cost gooseneck kettle or the Hario Buono
- A 0.1 g timer scale
- Add a glass server if needed
This is the combo a beginner is least likely to regret. With the grinder and scale included, you can repeat a recipe, and the dripper and kettle are easy on the budget.
- A Kingrinder K6 or 1Zpresso Q series
- A V60 set or add a dripper to your taste
- A temperature-controlled electric gooseneck kettle
- A responsive coffee scale
This stage is the realm of convenience and fine-tuning. There's no need to go this far from the start, but if you've found the fun of feeling the difference in flavor by switching beans, it's a meaningful upgrade.
Your first cup, brew it like this
Once you've got the tools, start with the most basic recipe. This is for one serving.
- Set the filter in the dripper and rinse it once with hot water. The paper smell lessens and the server preheats too.
- Add 15 g of ground beans and lightly level the surface flat.
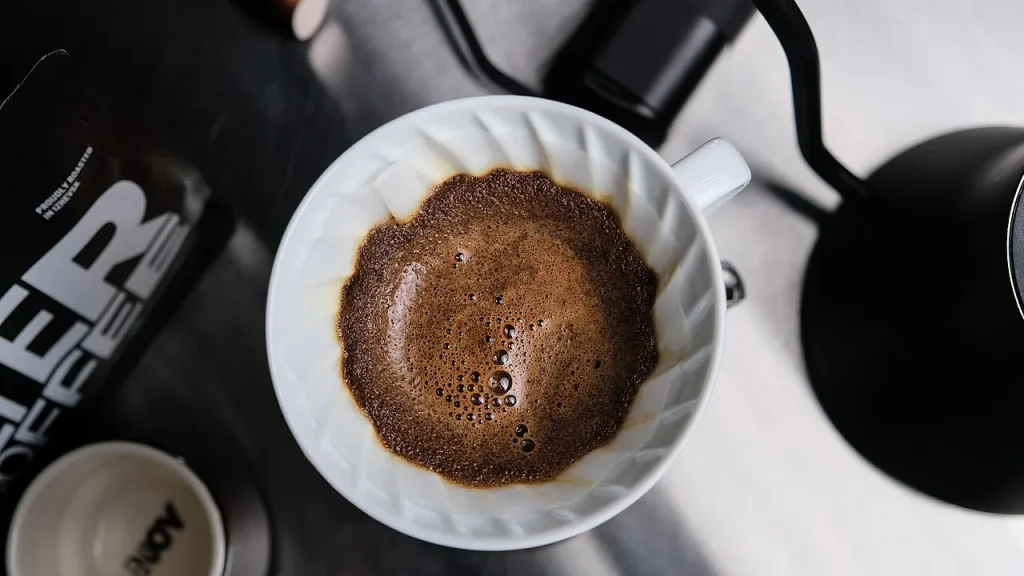
- Bloom — pour 30–40 g of water to wet all the grounds and wait 30 seconds.
- Pour water slowly in circles from the center outward. Don't pour it all at once; split it into two or three pours to reach a total of 250 g.
- When all the water has drained, taste it. If it's bitter and harsh, go a little coarser on the grind; if it's thin and weak, go a little finer.
Change several conditions at once and it's hard to know the cause. Change only one of water temperature, grind, or bean amount. Record today's recipe with your scale's timer and the next cup becomes much easier.
☕ Timemore + Hario V60, brew along with a step-by-step recipe
We've organized the basic recipe above step by step — down to grind clicks, blooming, and the pouring timer. Follow along and record the settings of the days it came out well.
Go see the drip recipe →In closing — beans before tools
Good tools certainly help. But no matter how expensive the grinder, it's hard to fully revive long-stale beans. Even if you start with a value set, for the beans at least, go with ones roasted close to the date, and rather than a too-large bag, buy an amount you'll drink within one or two weeks.
You don't have to expect a perfect cup from the start. Brew a cup a day and before you know it, your hands remember the recipe. Getting into drip coffee is less about buying a lot of equipment and more about slowly narrowing down your own taste. Start with an easygoing set first.

댓글 0
첫 댓글을 남겨보세요.